Although TestNG provide a built in solution for reports but it is not very optimized and configurable. It provides a very basic report of execution. You will find TestNG report under test-output folder named as emailable-report.html. This report is generated automatically if we are working with TestNG. So, We need to refresh our project once after execution.
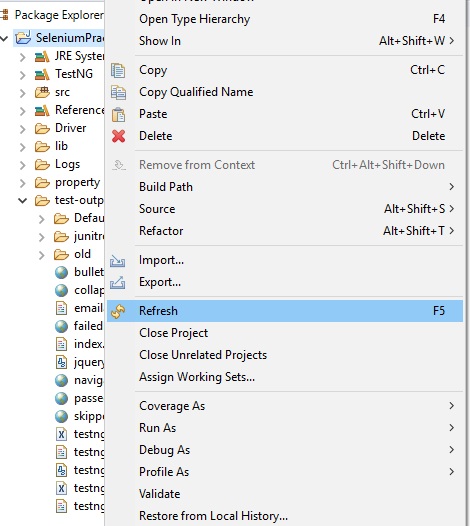
Right click on project > Click Refresh
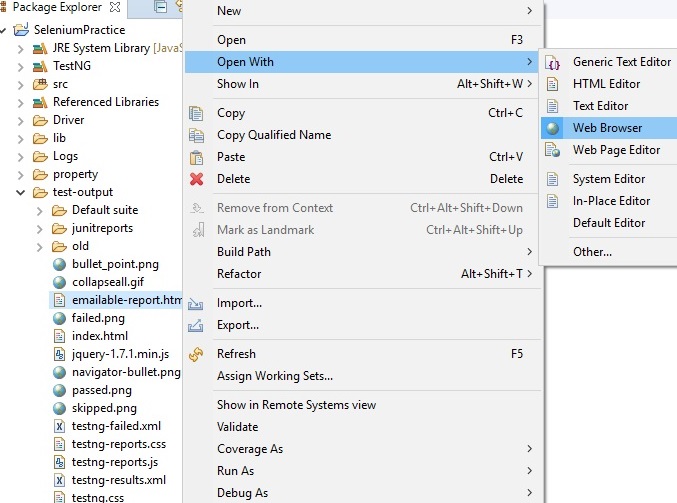
To open this report in eclipse, Right click on emailable-report.html > Click Open With > Web Browser
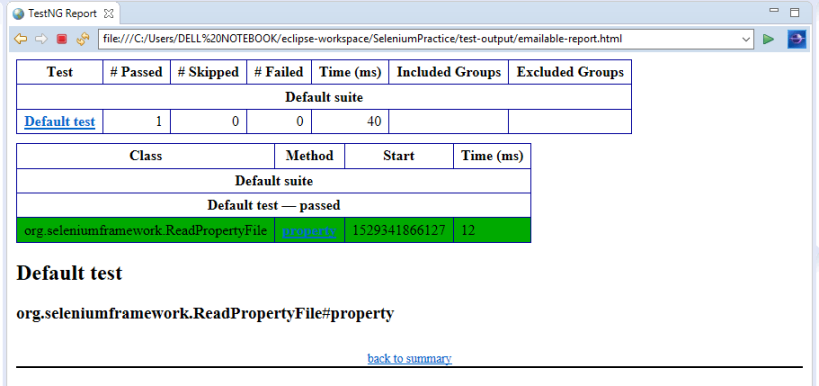
As we can see in the below image, it is a simple report which gives us basic information regarding test execution.
So, today we will discuss about a third party plugin which allows user to produce visually appealing and detailed report with the capability of logs and screenshots. The plugin is Extent Report plugin. This can produce more interactive reports with details like system settings, screenshots, logs, and much more.
Extent Report Setup:
- Download Extent report jar files from here.
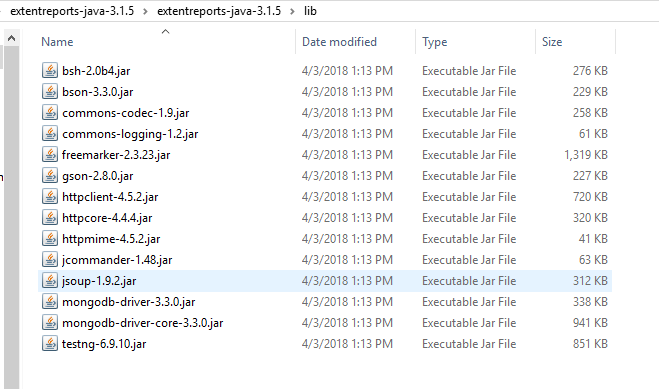
- After downloading, extract all files in a folder. You should see these files:
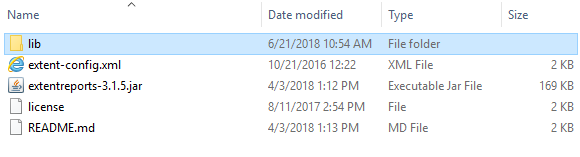
- We can see extentreports-3.1.5.jar file, but we have additional jars inside lib folder:
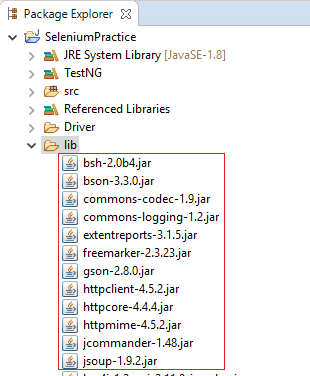
- We need to copy all these files in our project’s lib folder
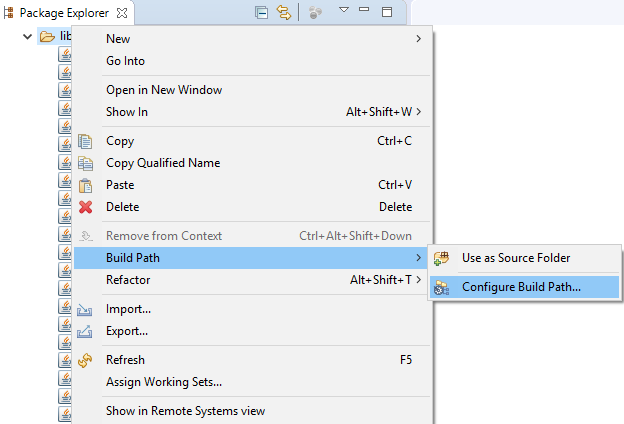
- Then, right click on lib folder > Click Build Path > Configure Build Path
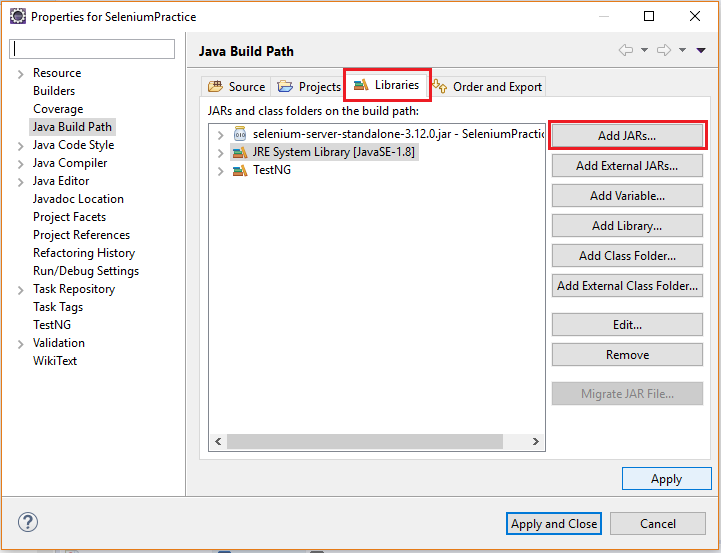
- Under Libraries > Click Add JARs…
- Under our project SeleniumPractice > Expand lib > Select all jar files > Click OK
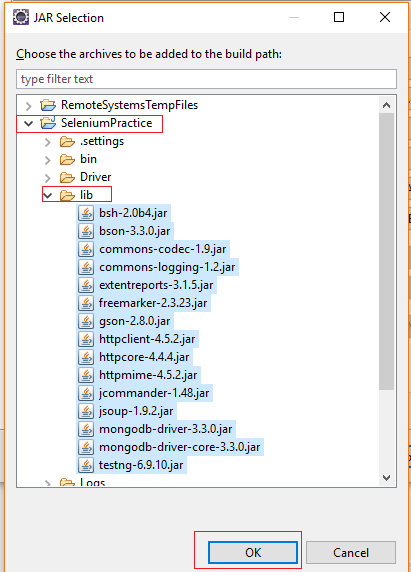
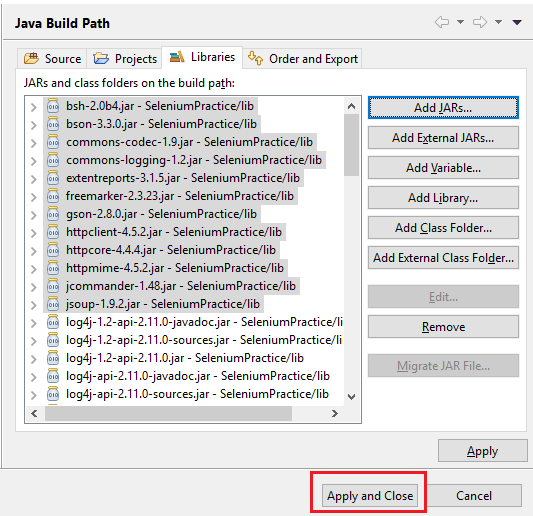
- We can see that all jar files are available under libraries. Click Apply and Close
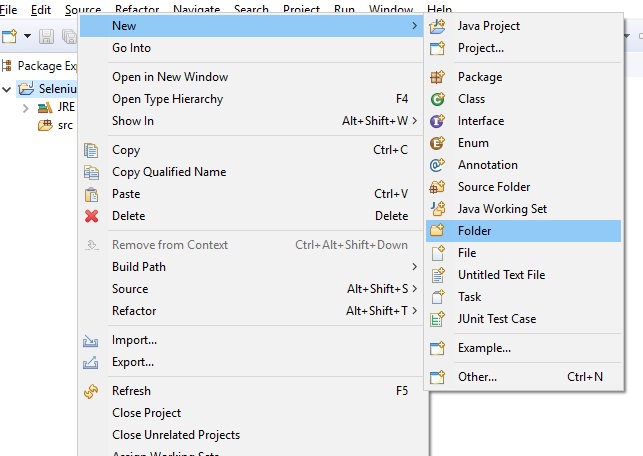
- All jar files are added to our project successfully. Now we will create a folder to store our reports. Right click on SeleniumPractice > Click New > Folder
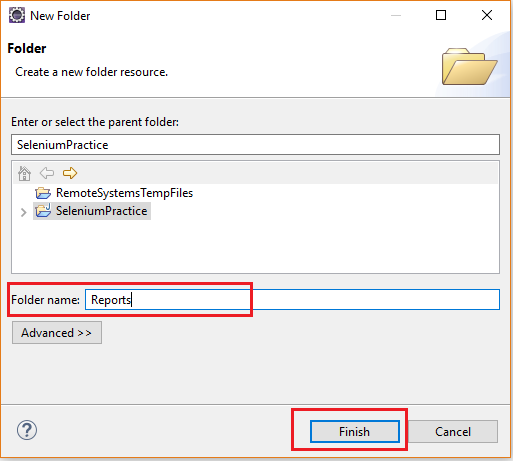
- Give name as Reports and click on Finish
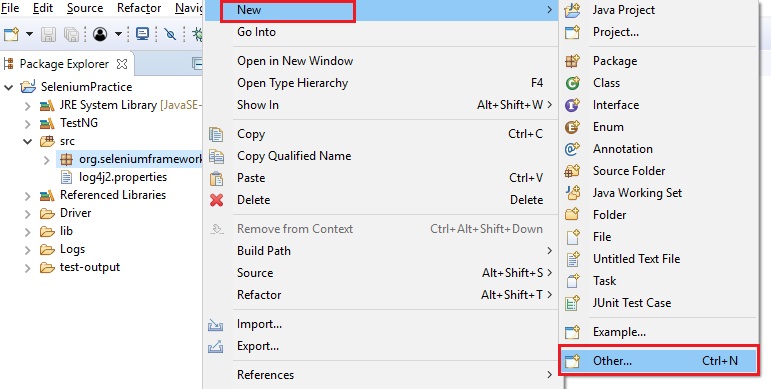
- Now we will create a new class to generate reports. Right click on package > Click New > Other
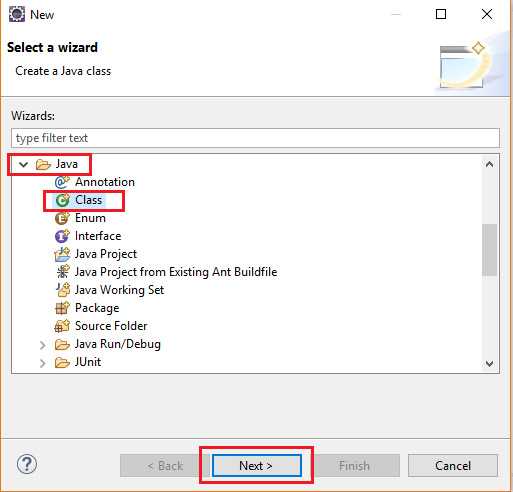
- Expand Java > Click Class > Next
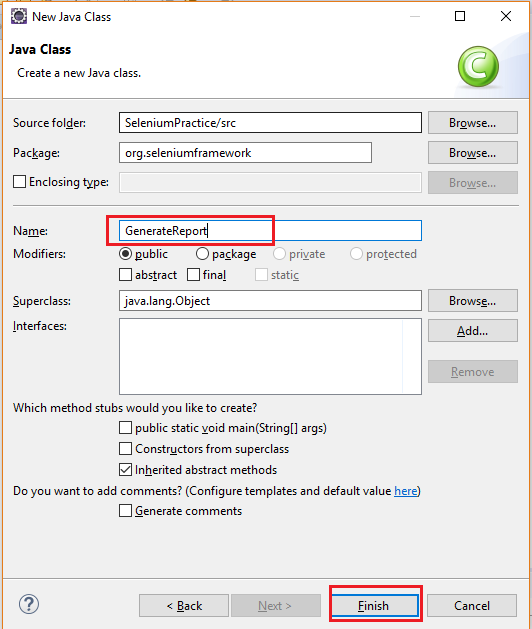
- Give name as GenerateReport> Click Finish
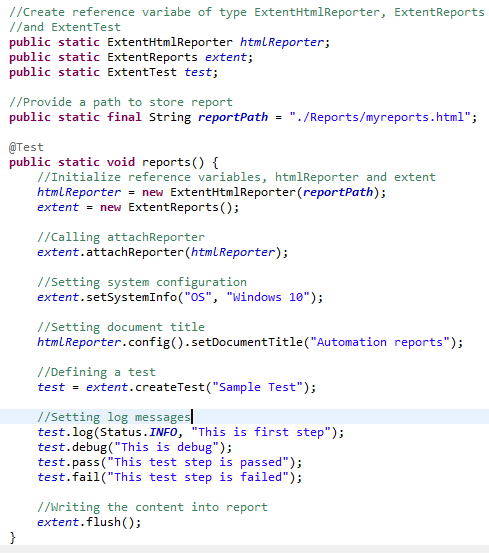
- Here is the simple code for setting up extent reports:
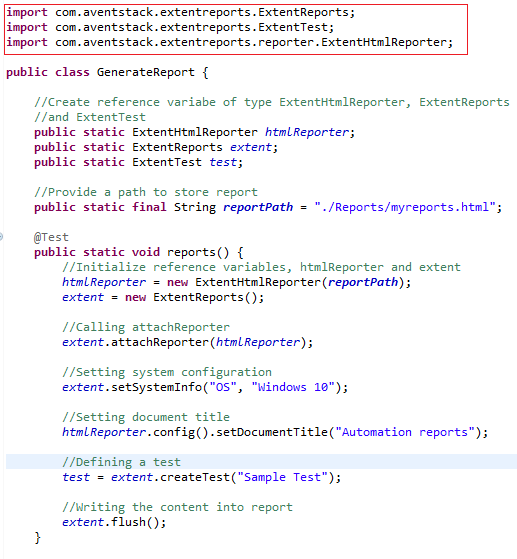
We need to create an object of class ExtentHtmlReporter and provide a path where we need to save our reports. This object is used to generate a rich standalone HTML file on specified path. Then we need to create object of ExtentReports to allows reporter to access information using attachReporter() method, which in turn build the reports. Using this object we can set some useful information regarding test environment by using setSystemInfo() method which takes two string arguments as a key-value pair. We can further modify our report using ExtentHtmlReporter object as it allows several configuration options via the config() method like setting document title using setDocumentTitle(), setting report name using setReportName(), setting theme using setTheme() and so on. The object of type ExtentTest is used to define a test. It can also be used to add logs, snapshots, assign author and categories to a test and its children. flush() method appends the HTML file with all the ended tests. There must be at least 1 ended test for anything to be appended to the report.
- When we run this program, the report will be generated in Reports folder. Refresh the project using F5 key.
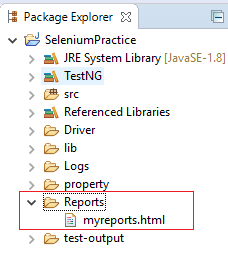
- To open this report in eclipse, Right click on myreports.html > Click Open With > Web Browser

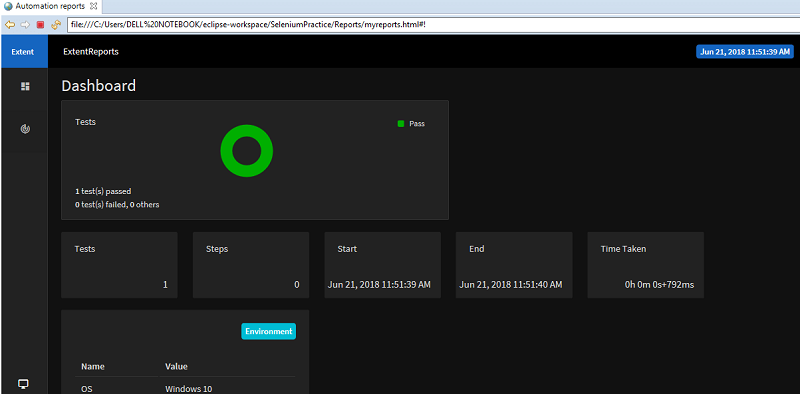
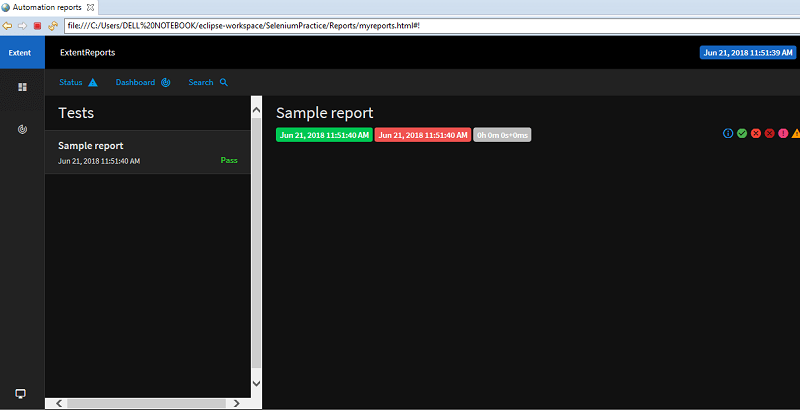
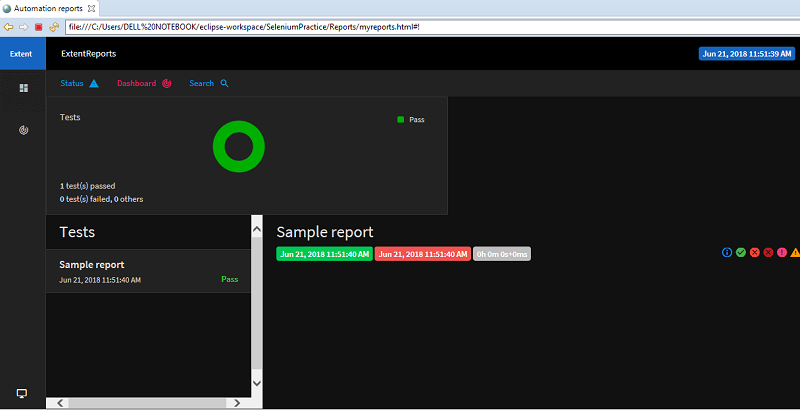
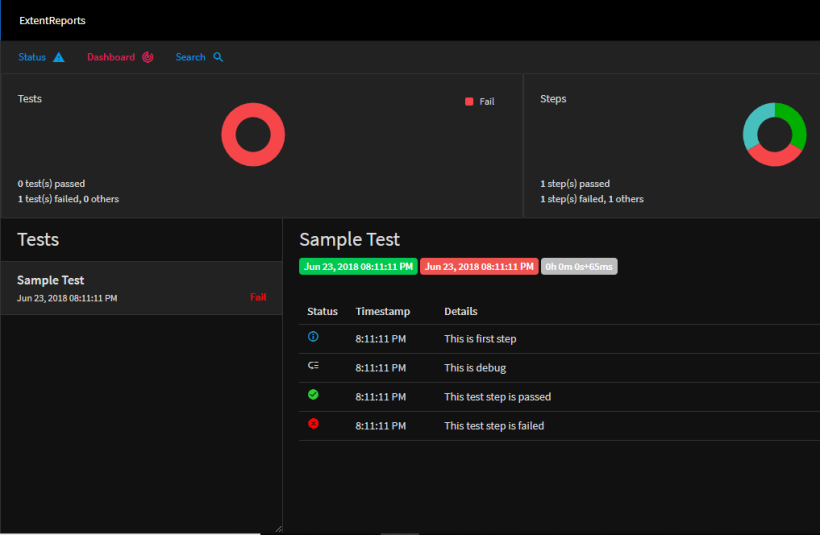
- We can see below that extent report is so much appealing and have much more details to show.
- Now we will see how we can show logs directly in our report:
As we already discussed above, the object of type ExtentTest can be used to add logs, so we are using it to include log details in our test. The output will look like this:
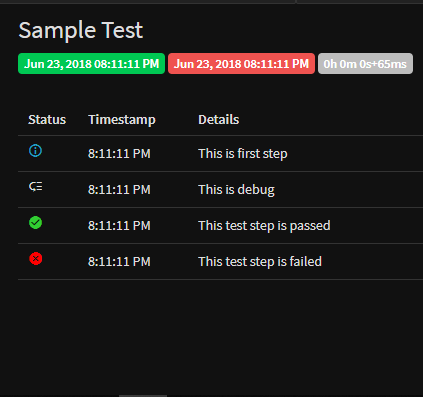
This is a neat way to show logs directly into our reports.
I hope this article was helpful. If so then please share it with others as well.
Have a great day!!!
