In last post, we saw how we can run our scripts using java main() method. But, there is a way to run our scripts without main method also by using TestNG annotations. But first let us know a bit about TestNG.
So, what exactly is TestNG? TestNG is an open source automation framework inspired from JUnit and NUnit. It has some new features and enhancements which makes this framework more robust, powerful and easier to use. NG in its name stands for Next Generation, implying it as a NextGen framework. It can be used for most of the different kinds of testing such as: Functional, Unit, End-to-End, Regression, Integration etc. The most important and powerful aspect of TestNG is its annotations.
Advantages of TestNG:
- Supports vast number of annotations
- In-built HTML report generation
- Generate logs
- Supports parallel test execution
- Test cases can be grouped and prioritized
- Supports data parameterization
TestNG Annotations:
- @BeforeSuite: The annotated method will run before any test method run in the current test suite.
- @AfterSuite: The annotated method will run after all test methods have run in the current test suite.
- @BeforeClass: The annotated method will run before any test method in the current class.
- @AfterClass: The annotated method will run after all test methods have run in the current class.
- @BeforeTest: The annotated method will run before any test method belonging to the classes inside the <test> tag run.
- @AfterTest: The annotated method will run after all the test methods belonging to the classes inside the <test> tag have run.
- @BeforeMethod: The annotated method will run before each test method.
- @AfterMethod: The annotated method will run after each test method.
- @BeforeGroups: The annotated method will run before any test method in a group of test cases.
- @AfterGroups: The annotated method will run after all test methods in a group of test cases have run.
- @Test: The annotated method will be a part of test case.
- @DataProvider: The annotated method will return an Object[ ][ ]. This is used to pass data to other methods.
- @Factory: The annotated method will return an Object[ ] that will be used by TestNG as Test classes.
- @Listeners: Defines listeners on a test class.
- @Parameters: Describes how to pass parameters to a @Test method.
Advantages of using Annotations:
- Annotations are strongly typed, so the compiler will flag any mistakes right away.
- Test cases does not have to extend anything.
- Passing of additional parameters to annotations is allowed.
- compiler identifies the methods by looking up annotations. Hence method names are not restricted to any pattern or format.
TestNG setup in Eclipse:
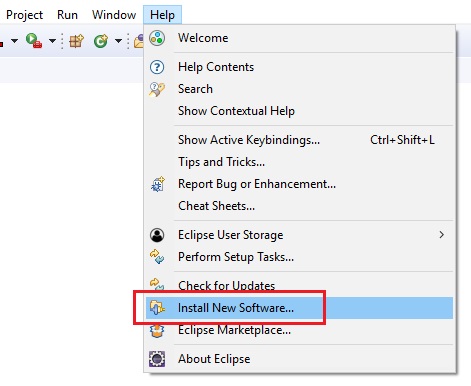
- Click Help > Install New Software…
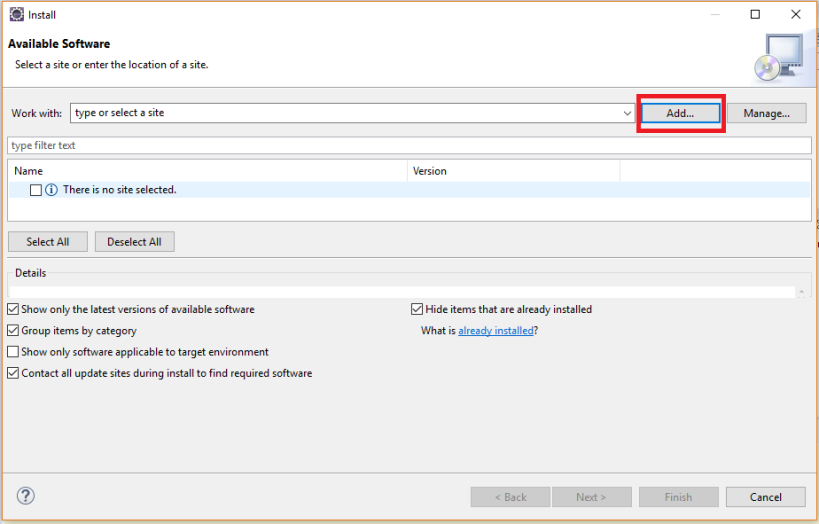
2. Click on Add
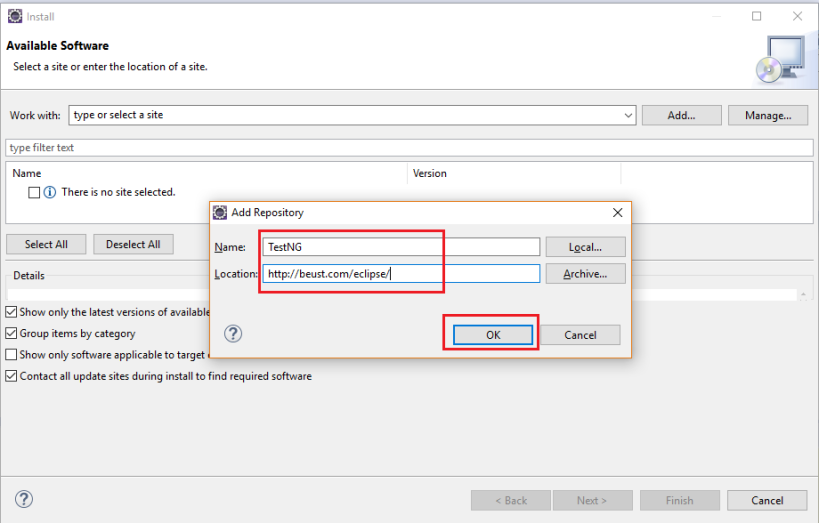
3. Write TestNG in Name field and provide Location as http://beust.com/eclipse/, then click on OK
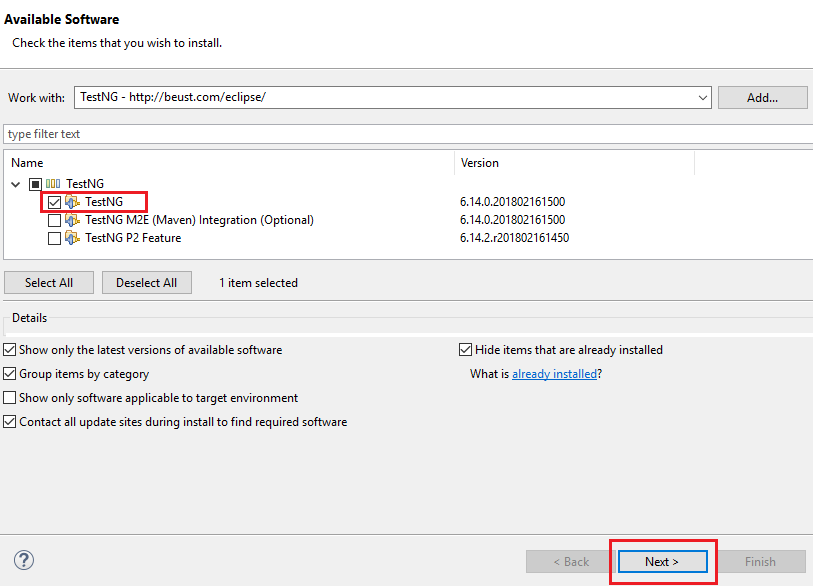
4. Expand the list by clicking on downward arrow highlighted in image below. We can see there are multiple TestNG components. We don’t need to select all these now.
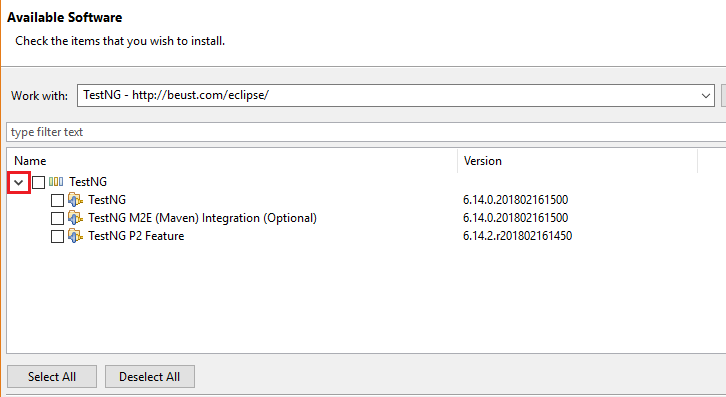
5. Select the checkbox TestNG shown in the image and click on Next
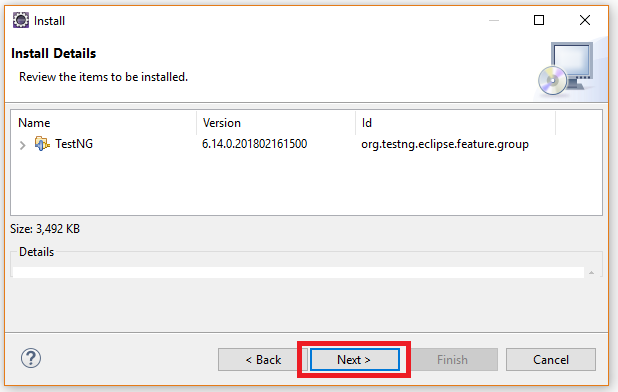
6. Again click on Next
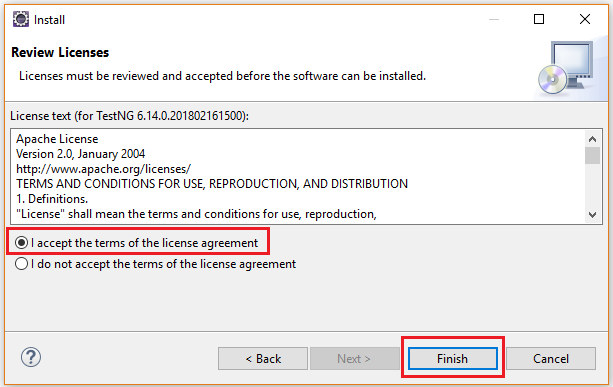
7. Accept the license agreement and click on Finish
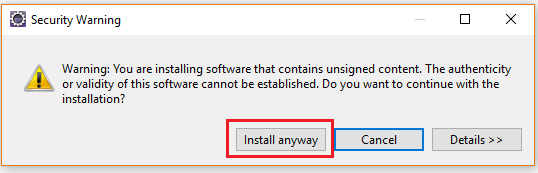
8. Installation should start now, but in case you get a warning message like shown in image, just click on Install anyway
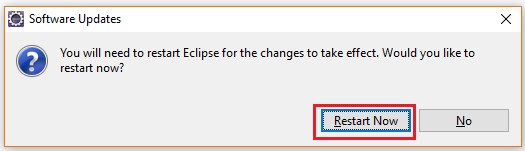
9. Click on Restart Now
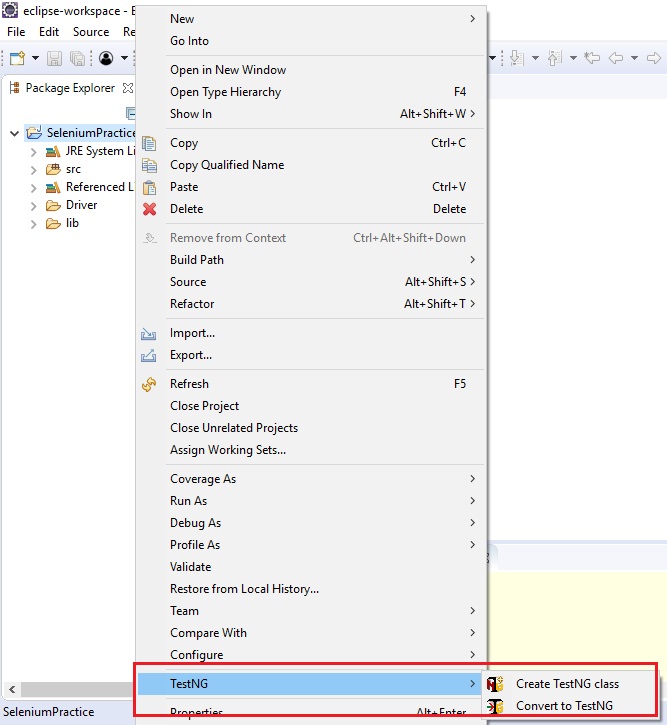
10. After restart, Right click on project and see if TestNG is present in context menu. If it is present, then TestNG installation was successful.
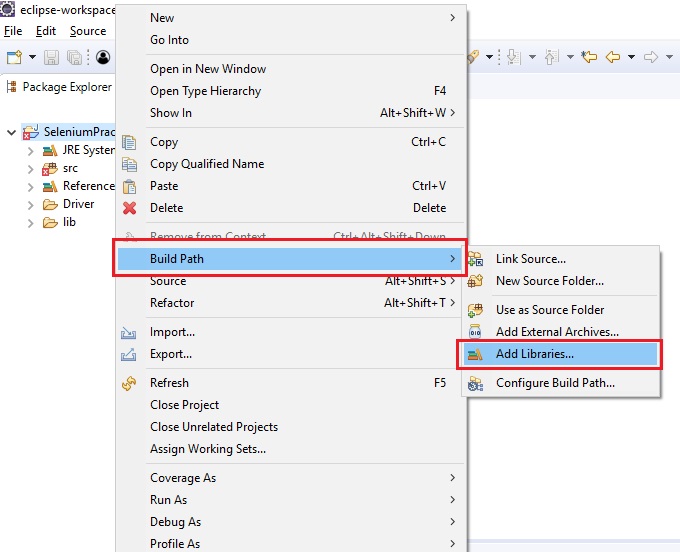
11. Now, We have to add TestNG libraries into project.
Right click on project > click on Build Path > Add Libraries…
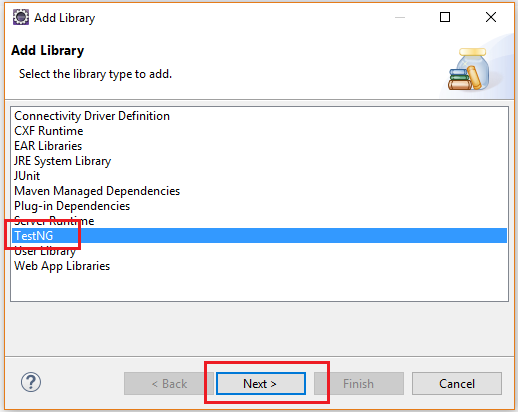
12. Select TestNG > Click on Next > Finish
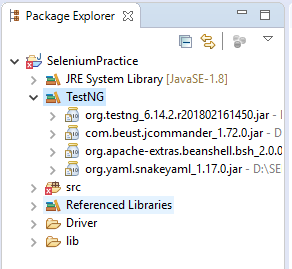
13. In Project Explorer, we can see that TestNG libraries are added.
That’s it for today. Feel free to comment your suggestions, and queries. And share this article if you find it useful.
Have a great Day!!!
